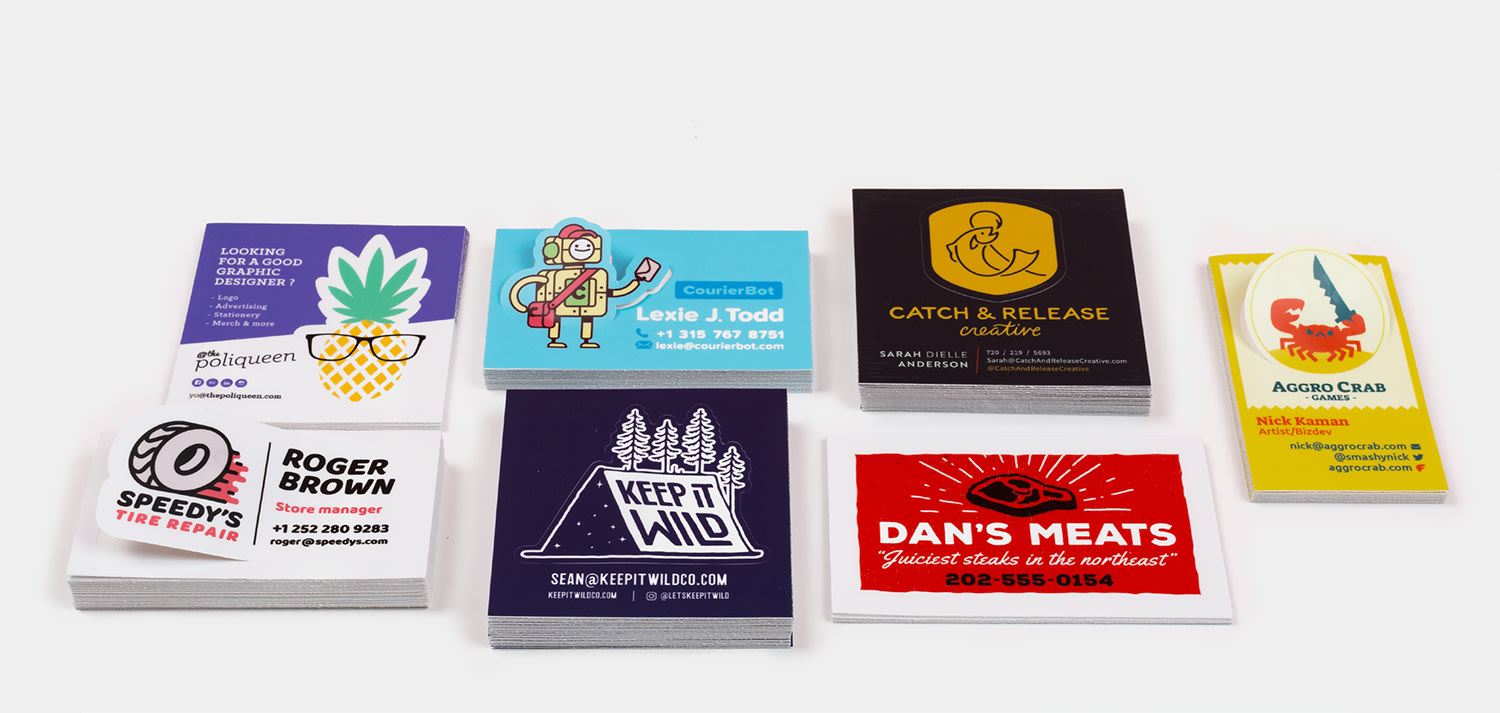
Do you love stickers as much as we do? Here’s a fun and easy way to keep the sticker fun going – with a reusable DIY sticker book! This craft project is perfect for kids and adults alike and takes just an afternoon to complete. With this book, you can create new pages of stickers over and over again – without the mess or hassle. So grab your materials, get creative, and design some custom stickers for laptops.
Why Use a Sticker Album?
For many people, a sticker album is a source of nostalgia. It can take them back to a time when they were carefree children, spending hours poring over their collection and dreaming of the day when they would have a complete set. Today, sticker albums are still popular among both children and adults. They provide a fun and affordable way to collect and display artwork, and there is a wide variety of designs to choose from.
Whether you are looking for something cute and child-friendly or something more sophisticated, you are sure to find an album that suits your taste. Best of all, unlike many other types of collections, sticker albums can be enjoyed without taking up too much space. So, if you are looking for a fun way to fill your spare time, or if you simply want to relive some childhood memories, why not start collecting stickers today?
How to Create a DIY Sticker Book
To get started, you need to have the necessary materials on hand. These include:
● A stack of blank white paper
● A pencil
● A black pen or marker
● Stickers!
You can use any type of sticker you like, but we recommend using reusable stickers so that you can create new pages over and over again. Once you have gathered your materials, follow these simple steps to create your own DIY sticker book.
Step One: Draw a Line
Start by folding your stack of paper in half lengthwise. This will create a spine for your book. Next, use a pencil to draw a line down the center of each page, about an inch from the spine. This will be where you stick your stickers.
Step Two: Decorate the Cover
Now it’s time to decorate the cover of your book. Use stickers, drawings, or whatever you like to make it your own. Once you’re satisfied with the cover, use a black pen or marker to write the title of your book on the front.
Step Three: Fill the Pages
Now comes the fun part! Use your stickers to fill the pages of your book, making sure to stay within the lines you drew in step one. Be creative and have fun! You can make patterns, create scenes, or just stick them randomly. It’s up to you!
When you’re finished filling the pages of your book, you can close it up and admire your handiwork. Congratulations! You’ve just created your very own DIY sticker book!
Fun Ideas to Fill Your DIY Sticker Book Pages
Now that you know how to make a reusable sticker book, it’s time to get creative and have some fun! Here are a few ideas to get you started:
-Set a theme for each page. For example, you could have a page of animal stickers or a page of flowers.
-Challenge yourself to use only one color of sticker per page. This is a great way to practice your color coordination skills!
-Create patterns with your stickers. This can be as simple or as complex as you like.
-Make a scene on each page. For example, you could create a beach scene with ocean stickers or a forest scene with tree and animal stickers.
These are just a few ideas to get you started – the possibilities are endless! So grab your stickers and get creative.
Bottom Line
A sticker album is a fun and affordable way to collect and display artwork. You can create your own DIY sticker book with just a few simple materials, and it’s a great way to spend an afternoon with your kids. With reusable stickers, you can fill the pages over and over again – so get creative and have some fun!


